
Conduit and braided sleeving protection process for wire harnesses: cutting, routing, termination and batch inspection
Process boundary: where conduit and braided sleeving fit
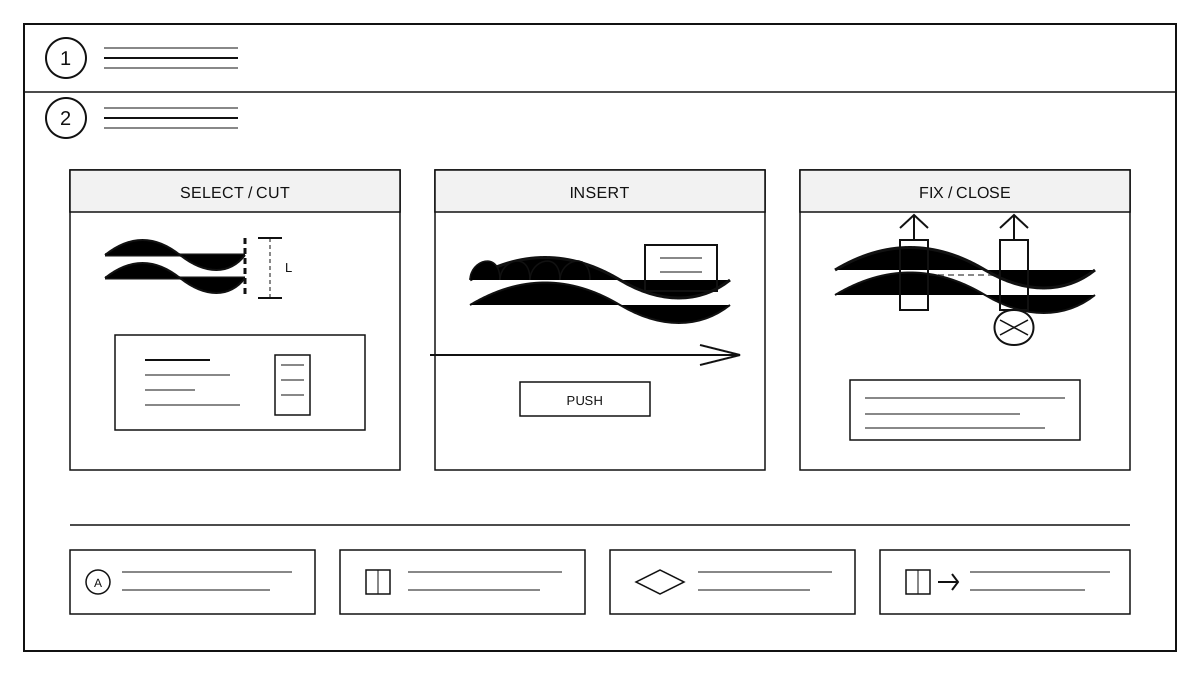
Corrugated conduit suits fixed runs that need crush and abrasion resistance; braided sleeving suits moving or tight spaces where flexibility and chafe protection matter more than rigidity. Decide by movement, bend radius, connector size, heat and service access. Define the protected zone, entry and exit points, and whether the sleeve must open for maintenance before cutting.
Cutting and port preparation
Cut corrugated conduit across a crest, not a valley, so the cut edge keeps a full ring. Deburr the cut, open the slit in the direction that faces away from the harness, and round sharp edges. Cut braided sleeving with a hot knife or fine scissors, then fuse or tape the end to stop yarn fray. Leave a shrink allowance at both ends; never cut the sleeve shorter than the final routed length.
Sleeving and routing
Route from the smallest branch outward, keep the sleeve straight while pushing, and never twist the braid. Respect the minimum bend radius of the conduit; do not flatten the corrugation at a bend. For braided sleeving, overlap the seam on the underside of the harness and keep the overlap direction consistent. Pull the sleeve past the connector, then retract it to the marked position so the yarn does not load the terminals.
Fixing and termination
Terminate conduit with a clip, bracket or heat-shrink ring at the end, and support every long run at the specified spacing. Do not clamp a tie directly across a corrugation crest; use a protected clip or a sleeve insert. For braided sleeving, lock the end with a heat-shrink band or a tight tape wrap, and keep the tie behind the fused edge. Check that no wire is pinched under the tie or at the sleeve mouth.
Inspection and batch records
Check cut length, port condition, slit orientation, bend radius, fixation spacing and exposed wire at the sleeve mouth. Pull the sleeve lightly by hand to confirm the end lock; do not use a force that can damage the braid. Record the first-piece result, the batch number and any rework. For the downstream customization interface, see custom harness capability.